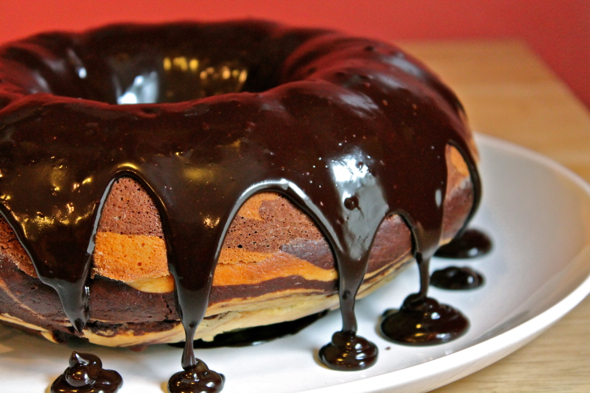
This frosting was the perfect smooth topper for a chocolate and vanilla marble cake (much like this cake, but with plain milk subbed in for coconut milk) that I made a couple of weeks ago. I wanted to drizzle something over the top of the cake, but whipping up a simple glaze just didn’t seem to fit the feel of the cake. Because the cake is so light, I thought a glaze might end up making the cake a bit spongy, or, on the other end of the spectrum, when it sat a while it might form a bit of a crust, which would definitely be at odds with the delicate crumb of the cake.
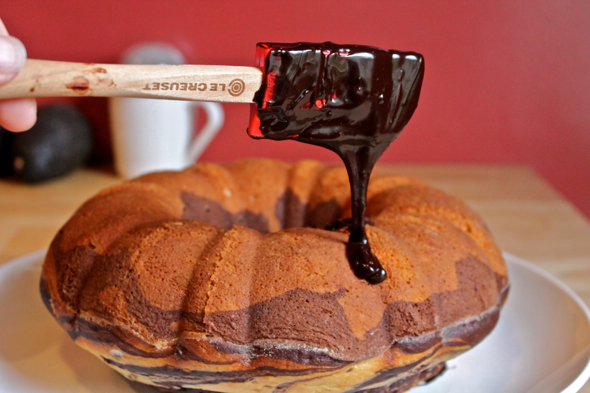
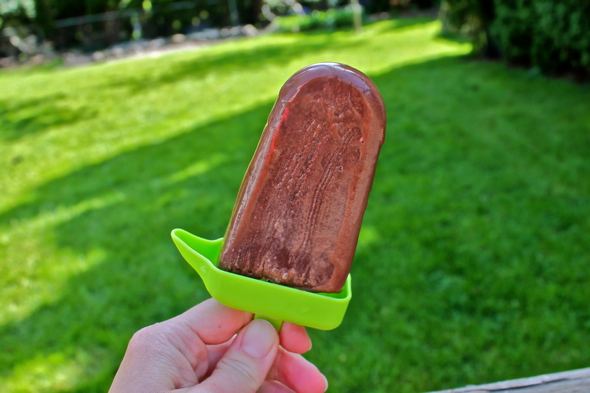
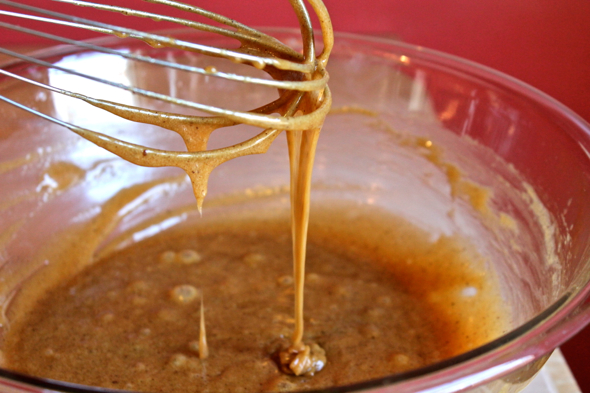
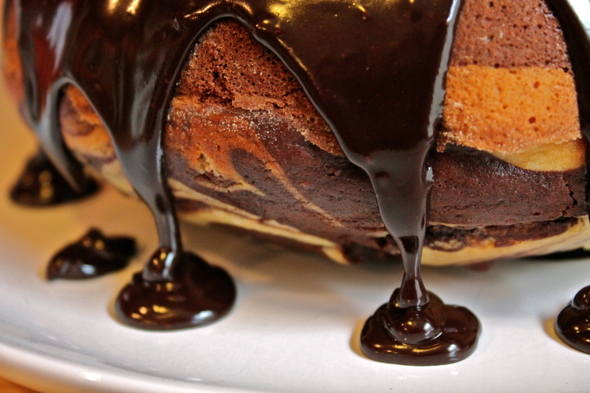
More akin to a sauce than a standard finish for a cake, this frosting is intensely chocolatey and comes together in minutes. Lightly spooned over the top of any cake, it drapes beautifully down the sides and sets up like a dream. I imagine that this frosting/sauce would taste incredible over some vanilla bean ice cream, but, in a turn of events that shocks no one more than me, I haven’t yet tried that particular combination.
Last Year: Two of my all-time favorite recipes on this site– Rice Noodle Salad (Bún) with Vietnamese Turkey Meatballs and Coconut Lime Frozen Yogurt and Chewy Ginger Cookie Sandwiches (the best ice cream sandwich I have ever eaten in my whole life)
Bittersweet Chocolate Frosting
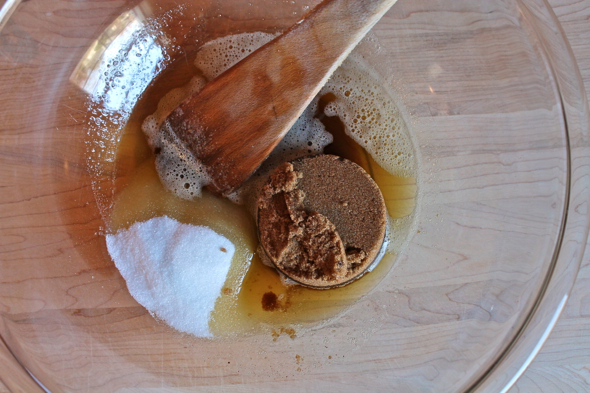
1/3 cup granulated sugar
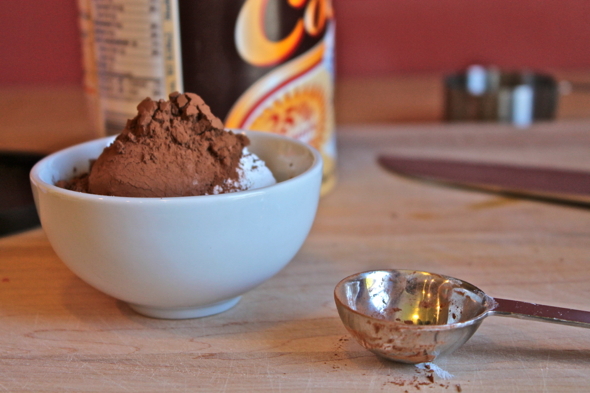
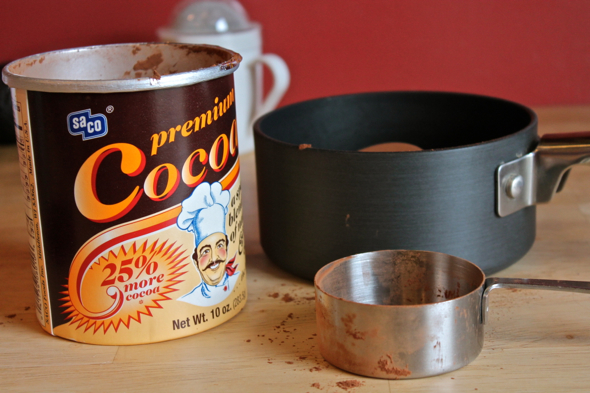
½ cup unsweetened Dutch process cocoa powder
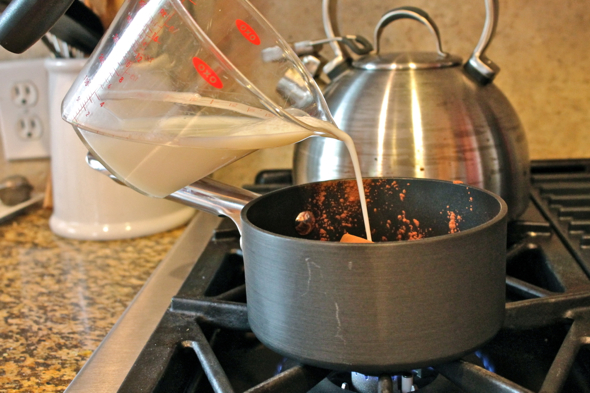
½ cup milk (I used 1%)
½ teaspoon pure vanilla extract
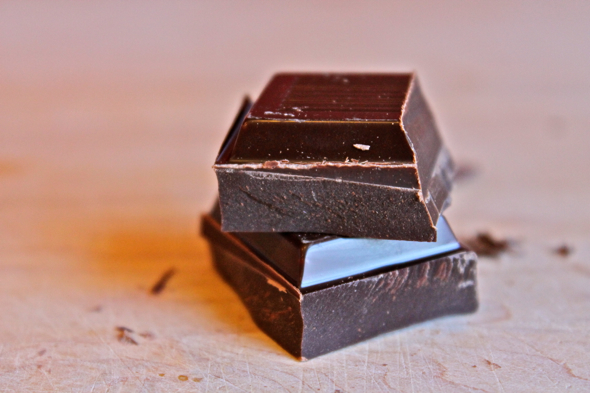
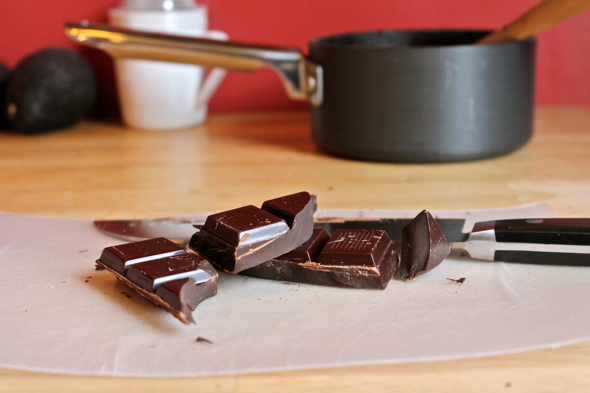
3 ounces bittersweet chocolate, finely chopped
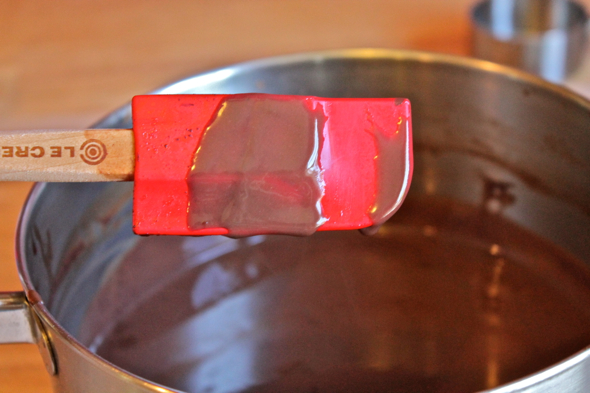
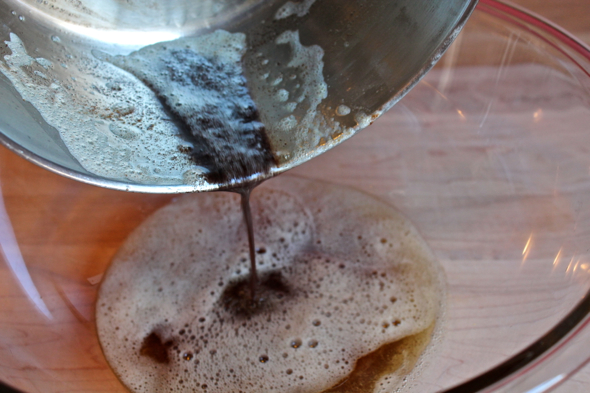
In a small or medium saucepan set over low heat, stir together the sugar and cocoa powder. Slowly drizzle in the milk, stirring as you do so, taking as much time to add the milk as you please so that the mixture does not clump together. Increase heat to medium, then stir the mixture constantly until it just comes to a boil. Reduce heat just a tad, then continue to stir mixture for another 2 minutes while it just barely simmers, producing just a bubble or two at the surface every few seconds.
Remove the saucepan from the heat, then stir in the vanilla. Allow the mixture to cool for 2 to 3 minutes, then add the chopped chocolate and stir until completely smooth. Allow the frosting to cool completely before frosting a cake. If you are planning on drizzling some of this over some ice cream or profiteroles, it need not be completely cooled (in fact, slightly warm might be a preferable temperature in those instances).
Makes about 1 cup of frosting or sauce, enough to frost 1 bundt cake or lightly spread over the top and middle of 1 double-layer 8-inch cake (but don’t plan on using it to frost the sides—this is strictly a drizzling or draping type of frosting).