I did not come up with this genius ice cream sandwich combination. The combo was the work of Asha Dornfest, the lovely mind behind Parent Hacks and the author of several different books. Asha was able to dream up her own ice cream sandwich combination when she made a donation to this great campaign, of which I was greatly honored to be a part. Ask for an ice cream sandwich combo and I shall deliver.
One warning about this very delicious caramel ice cream–it stays very soft, even after a prolonged freezing. Consider this when biting into your ice cream sandwich, and anticipate some sticky activity.
Last Year: Blueberry Cream Pie in a Gingersnap Crust and Olive, Lemon, and Herb-Stuffed Sole
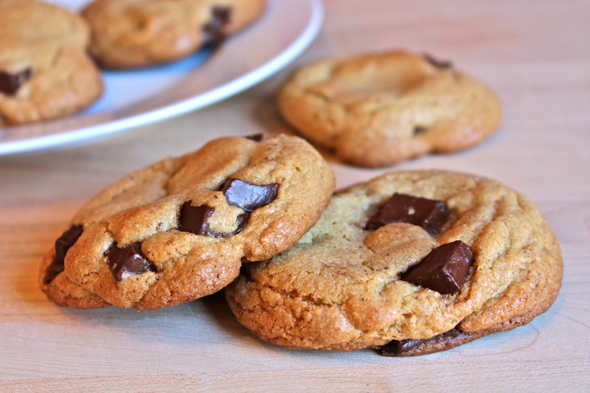
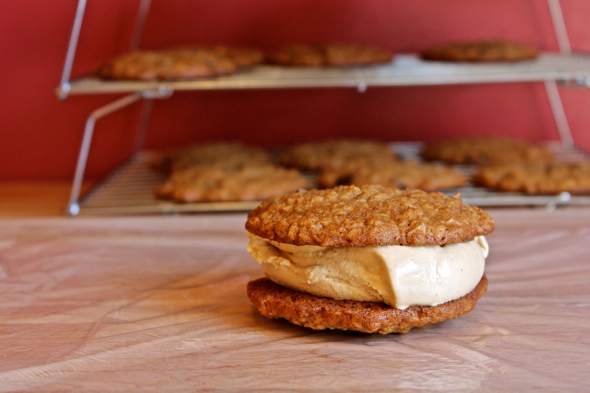
Oatmeal Chocolate Chunk Cookie and Caramel Ice Cream Sandwiches
Caramel Ice Cream
Adapted slightly from Room for Dessert, by David Lebovitz
1 ½ cups sugar
1 vanilla bean, split
2 ¾ cups heavy cream
¾ cup milk, not skim
pinch of sea salt
5 egg yolks
Sprinkle an even layer of sugar into a heavy, medium-sized saucepan (at least 2 quarts). Add the vanilla bean, then cook the sugar over medium heat until it begins to liquefy around the edges. As the sugar melts, swirl the pan to move the sugar around, and occasionally give the sugar a stir with a wooden spoon or heat-resistant spatula to prevent it from burning in any one spot.
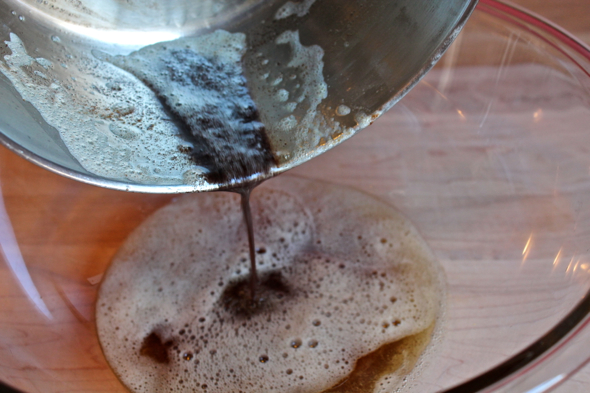
Once the sugar has begun to darken, it will finish cooking very quickly. When the edges begin to bubble and the lighter, amber-colored sugar has begun to smoke, remove the pan from the heat and very quickly pour in the heavy cream, stirring to dissolve the caramel. The mixture will bubble and steam furiously, so be cautious with your pouring and stirring. If your caramel begins to seize up, do not fear. Simply return the pan to low heat, and gently stir the caramel cream mixture until the caramel pieces dissolve.
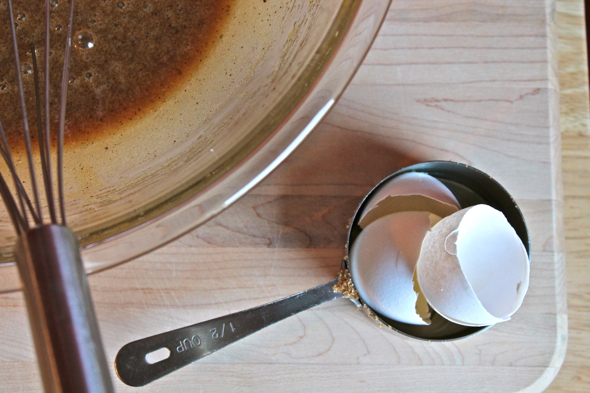
Whisk the milk and salt into the caramel mixture. Lightly whisk together the egg yolks in a bowl, and very slowly add the caramel cream, whisking constantly as you pour in the hot liquid. Return the mixture to the saucepan in which you cooked the caramel, and gently heat the custard mixture over low heat until it reaches around 165 to 170 degrees Fahrenheit. The mixture should easily coat the back of a spoon.
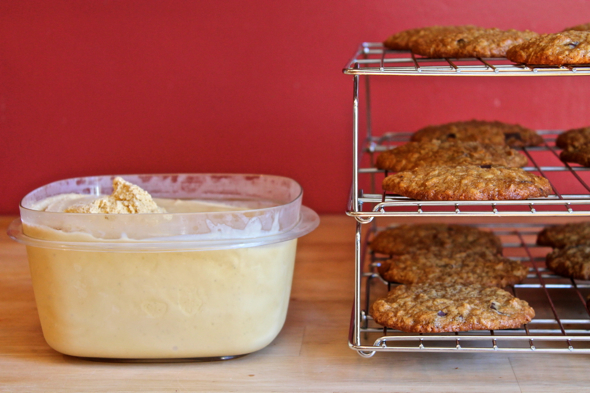
Strain the custard mixture into a medium or large bowl, and refrigerate until completely chilled, overnight, or at a minimum, 3 hours. When chilled, pour into an ice cream maker and freeze according to manufacturer’s instructions. When ice cream is frozen, remove to a container and freeze several hours or overnight, until firmed up enough for scooping.
Oatmeal Chocolate Chunk Sandwich Cookies
Adapted from The Perfect Scoop, by David Lebovitz
2/3 cup unbleached, all-purpose flour
2 tablespoons granulated sugar
6 tablespoons packed dark brown sugar
½ teaspoon baking soda
¾ teaspoon ground cinnamon
¼ teaspoon salt
1 ½ cups rolled oats, not instant or quick-cooking
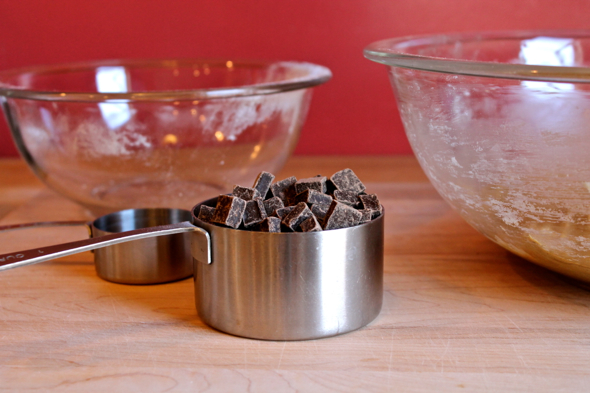
½ cup dark or semi-sweet chocolate chunks or chips
½ cup unflavored vegetable oil
3 tablespoons milk
½ teaspoon pure vanilla extract
1 large egg
Preheat oven to 350 degrees Fahrenheit. Line 2 or 3 baking sheet with parchment paper.
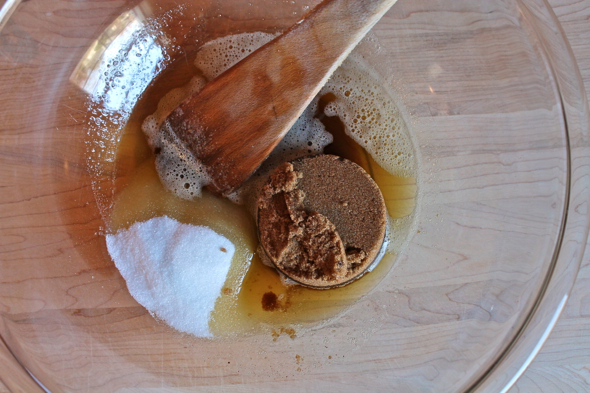
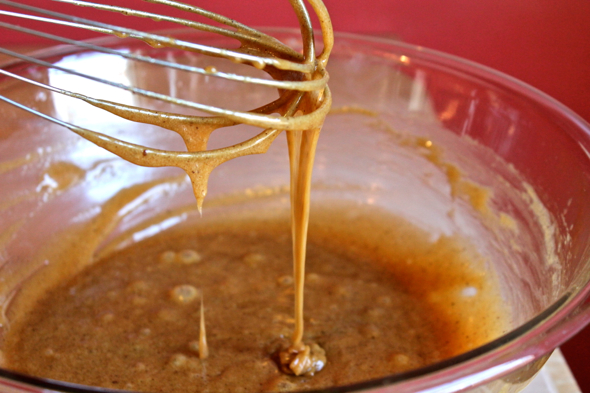
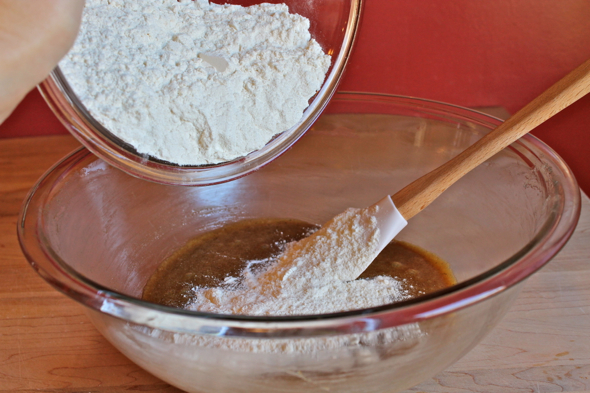
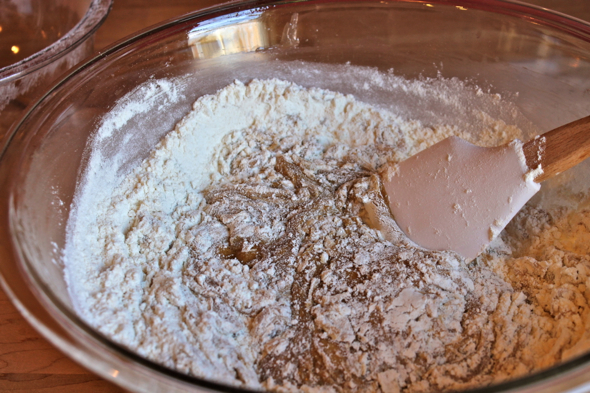
In a large bowl, whisk together the flour, both sugars, baking soda, cinnamon and salt, being sure to break up any large lumps of brown sugar. Stir in the oats and chocolate chunks.
Make a well in the center of the dry ingredients, then pour in the oil and milk. Add the vanilla and egg and stir until the batter is smooth.
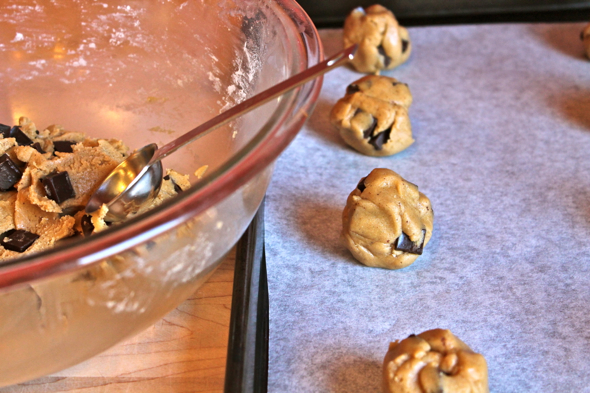
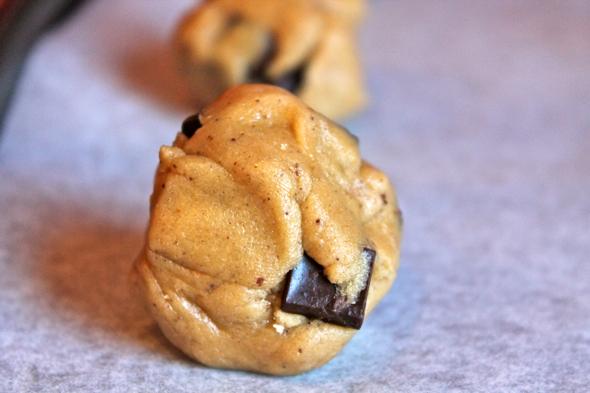
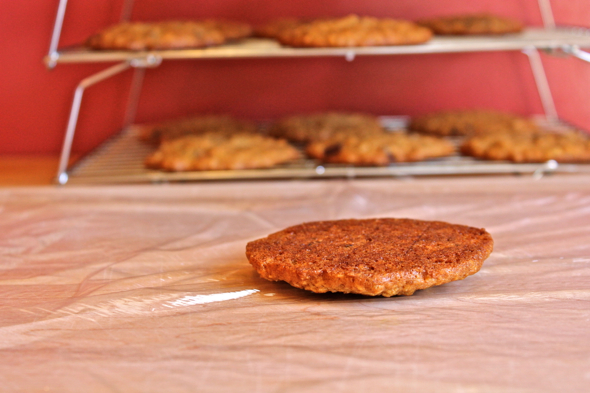
Scoop the batter onto a prepared baking sheet, measuring out each scoop to be a heaping tablespoon. You will be able to fit 6 scoops on 1 sheet—try to fit any more and your cookies will spread into one another. Flatten out each scoop slightly, until the top is no longer rounded.
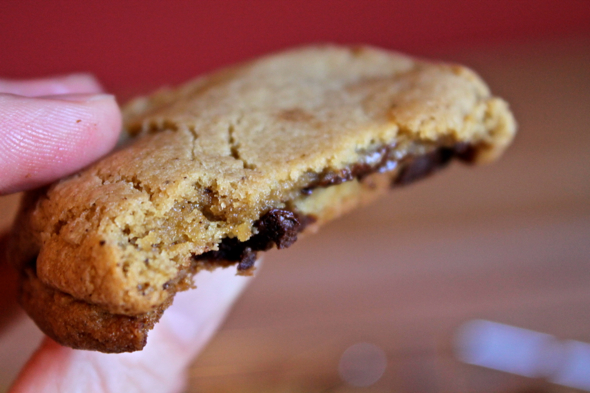
Bake a sheet of cookies for 10 to 12 minutes, until golden at the edges, rotating the sheets halfway through baking (Lebovitz’s book dictates that you bake the cookies for twice as long as this, for reasons unknown. I followed his instructions at first, but the cookies came out burned and hard as rocks). Remove cookies to a wire rack to cool completely. Finish baking all cookies in this manner. You should end up with 16 large cookies.
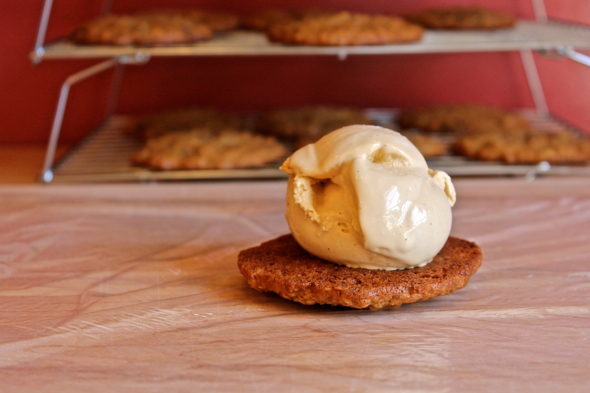
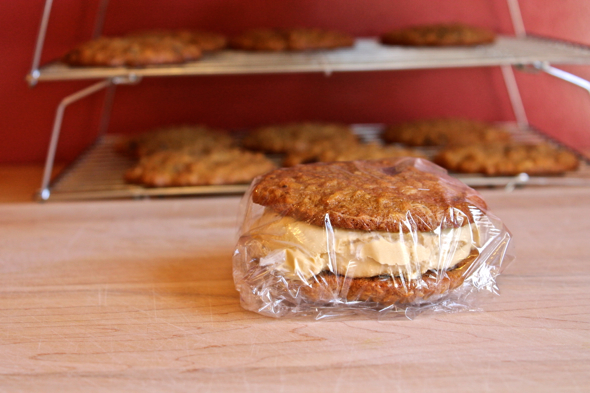
To assemble ice cream sandwiches, top one cookie with a generous scoop of ice cream, then top the ice cream with another cookie. Press down slightly to help the ice cream fill out the circumference of the cookie. Freeze ice cream sandwiches, wrapped in plastic wrap, if you wish, until firm enough to not splat out everywhere when you bite down on them, at least a few hours.
Makes 8 large ice cream sandwiches, with ice cream leftover (yay!).