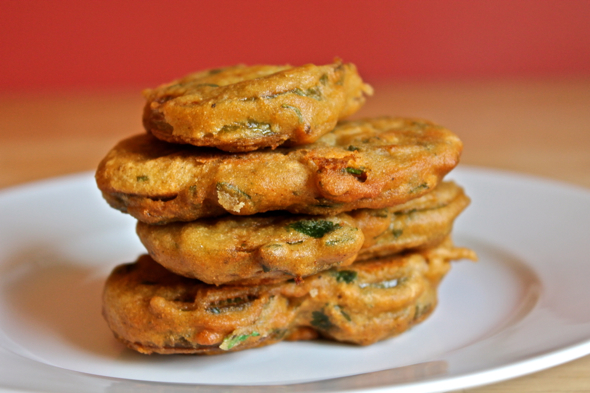
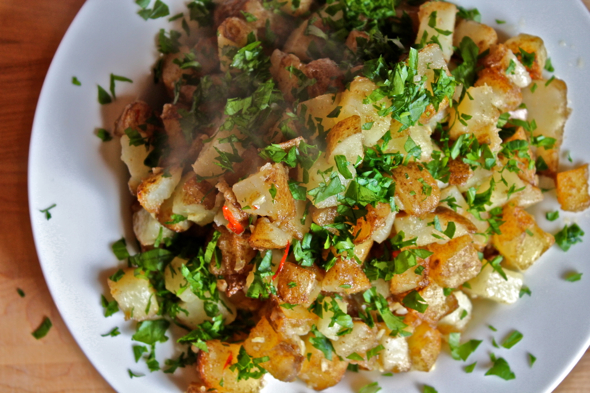
Inspired by my son’s favorite side dish at a nearby Lebanese restaurant, these potatoes are perfectly warm with coriander, spiked with a bit of fresh chiles, and tinged with just enough garlic to make them interesting, but not dangerous. I can’t recommend enough that you make this side dish a last-minute staple at your house, as it has become at ours.
Last Year: Cheddar, Apple, and Poppy Seed Scones and Black Bean and Sweet Potato Soup
Coriander Potatoes
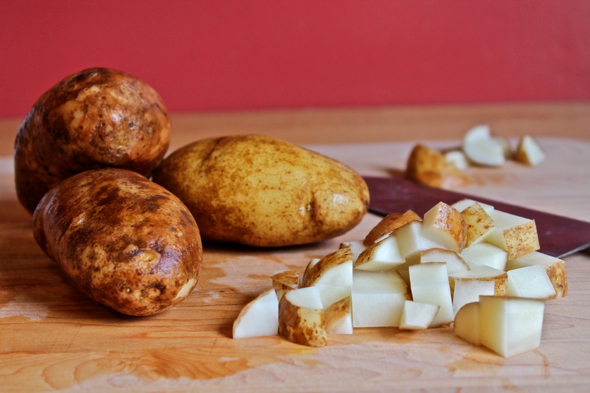
1 ½ pounds potatoes (I use Russet, but I imagine a waxier potato would work just fine here as well), peeled and diced into ½-inch chunks
¼ cup olive oil, or a mixture of 2 tablespoons of olive oil mixed with 2 tablespoons of ghee
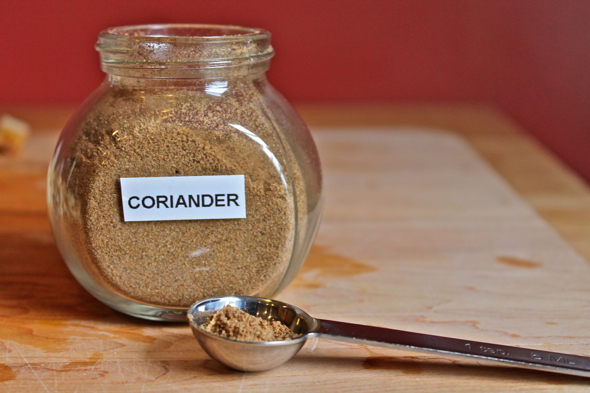
1 tablespoon ground coriander
2 large cloves of garlic, finely minced
1 small chile (a Serrano works well here), sliced into thin strips or rings (seeds and ribs removed if you desire less heat)
salt to taste
sprinkling of chopped fresh Italian parsley
Heat olive oil (or olive oil and ghee mixture) in a large pan set over medium-high heat. When the oil is hot, add the coriander and allow it to sizzle and brown for 10 seconds. Add the potatoes, stir to combine with coriander and oil, then cover, lower heat to medium, and allow to cook for 3 to 4 minutes, until potatoes have just begun to soften. Add the minced garlic on top of the potatoes, but don’t stir to combine. Place lid back over potatoes, and cook for another 3 minutes. Add sliced chile, stir to combine, and cook for an additional 1 minute, stirring frequently. Add salt to taste, then sprinkle with parsley.
Serves 6 to 8 people as a generous side dish.