Archive | Gluten-Free RSS feed for this section

Watermelon Lime Popsicles

6 Jun

IMG_9066

As utterly boring as it is to hear someone drone on and on about the weather, it can’t be denied that, when you tend to base most of your cooking decisions on the current state of the weather, not thinking and talking about the weather can quickly become a rather taxing enterprise. Making the situation even more complex is the fact that spring in Portland can never make up its everloving mind about whether or not it is going to call for nine days of straight rain and wind, or a solid block of sunny 75 to 80 degree days. How is a person supposed to know what to cook when yesterday was a grilling day, but today is a hearty soup and warm bread day?

IMG_9040

IMG_9041

IMG_9043

IMG_9046

What this is leading up to is the story of how I bought a watermelon when the weather was nice, but then, rather suddenly, the weather turned on me, lashing us with a week of 50 degree days that punished us with nonstop rain and wind. As everybody knows, watermelon is meant to be eaten on warm and sunny days, so there I was, watermelon at the ready, but in no position to partake of it.

IMG_9048

IMG_9051

IMG_9052

IMG_9054

Eventually, as we hope (but never really know) it always will, the sun did come back out. In a city where 75 degrees is as good as 100 degrees, it was watermelon weather again, and I was determined to crack my melon friend open and get to slicing. Wedge after wedge of watermelon was enjoyed and, due to the pleasingly large nature of a watermelon, there was plenty of melon available to freeze into homemade popsicles. And not just any homemade popsicles, my friends—all fruit popsicles, with no sugar added, and only as many ingredients as the number of fruits you choose to squeeze into them. It’s like eating nothing but fruit, because, well, it is eating nothing but fruit, only frozen, and in a pleasing popsicle shape, which, as we all know, is what one does when the sun comes out.

IMG_9058

Last Year: Vegetable Biryani and Baked Brown Butter Oatmeal with Blueberries and Pears

Watermelon Lime Popsicles

4 cups of watermelon chunks, preferably seedless watermelon, but, if not, seeds removed

juice of half a lime

¼ to 1/3 cup fresh fruit of your choice, sliced into small pieces (I used kiwi, but I also like the sound of sliced strawberries or raspberries, or whole blueberries)

In a food processor, puree watermelon chunks until smooth and liquid. Strain through a fine mesh sieve into a medium bowl, using a flexible spatula to urge the puree through the strainer. Stir in lime juice.

Pour watermelon mixture into popsicle molds, filling the molds about ¾ full (I was able to fill 8 molds, with a bit of juice leftover for drinking directly from the bowl with a straw, a clean-up method I highly recommend). As you can see, I filled some molds all the way, in the interest of my son’s request to have some popsicles without fruit chunks in them. Do not place the tops on the molds. Place the molds in the freezer for one hour, until the mixture becomes slightly slushy. Drop bits of fruit into each mold, making sure the mixture does not overflow over the top of the molds. Place the tops on the popsicle molds, then freeze overnight.

To release the popsicles from the molds, run the base of the molds under warm water for about 10 seconds. The popsicles should release with ease.

Makes about eight 3-inch popsicles. Your number of popsicles will vary depending on the size of mold you use.

Tiny Almond Lemon Cakes with Bourbon Vanilla Bean Glaze

23 May

IMG_8927

It would be no exaggeration at all to say that my quest to perfect these little cakes has been haunting me for weeks now. It started with an introduction, by way of the incomparable Heidi Swanson’s 101 Cookbooks. Swanson made a batch of these little almond beauties, and I was hooked at first sight. The delicate almond crumb. The swipe of vanilla bean-flecked frosting. I was all in.

IMG_8899

But then, much to my horror, my dream of making my own batch of tiny little almond cakes was brought to an abrupt halt when I was faced with the heretofore unknown price of almond paste. Featured as the main ingredient in Swanson’s cakes, almond paste, I came to discover, sells at a market rate of about $1.50 per ounce. As the cake called for 14 ounces of almond paste (which, for those of you not interested in doing the math, would run me over $21), I, upon witnessing the price, slowly backed away from the paste and went home to cry sad little almond-cake-less tears.

IMG_8902

But I could not be stopped. Look, as a person who has taken the time to create a mini cherpumple just for kicks, there was no way I was going to miss out on this almond cake just because of my unwillingness to pay as much for 14 ounces of almond paste as I pay for enough Thai food to feed three people (I love you, cheap Thai takeout). So, I made my own almond paste, the added benefit of which was the fortuitous ability to control (read: reduce) the amount of sugar included in the paste. Smooth sailing was to be found ahead, right?

IMG_8913

IMG_8916

No. My first attempt at the cake found me trying to bake the entire thing in a too-small fluted cake pan, a cute little number that is only 6 inches wide, but exceptionally deep, making for a cake that was beautifully browned along the edges, but unfortunately underdone in the very center. My next attempt included the use of the same pan, only with a slightly altered recipe that changed the egg ratio, the amount of cornstarch, and the baking time. The cake cooked all the way through this time, but about two minutes after I took it out of the oven it completely collapsed, folding in on itself like a deflated wading pool.

IMG_8921

IMG_8922

IMG_8925

More tinkering ensued, things were added and taken away, and then, finally, success was achieved. 
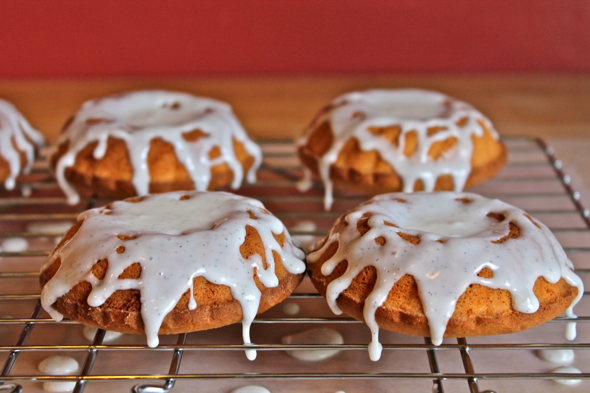
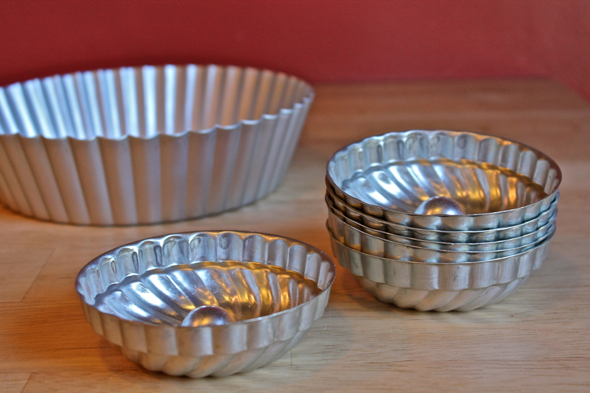
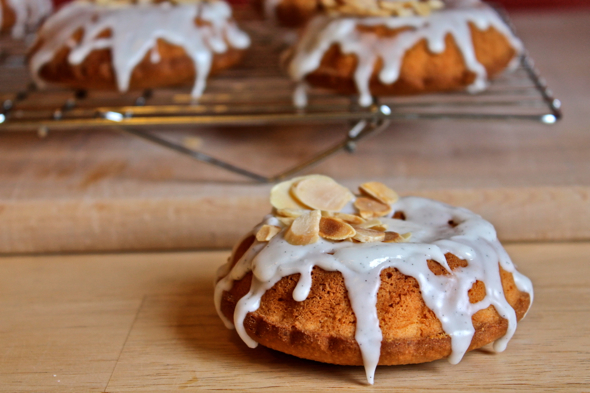
Baked in tiny little pans (thanks again, Corinna!), the cakes, unburdened by an excess of batter, turned out perfectly. The key? Knowing your pans. Though you may want to pour all of this cake’s batter into one smallish-yet-tallish pan, don’t do it. Almond paste behaves very differently than flour when it bakes, and this cake contains no leavening agent to aid in its rise. A taller pan will only bring you grief in the form of an underdone or collapsed cake. My experience has shown that an 8-inch pan works beautifully if baking a single cake, or, if you are in the mood for making several cakes at once, these cakes turn out wonderfully when baked in tiny little molds. The final product here is just spectacular, with the unmistakable flavor of almond essence mingling with the freshness of lemon zest and just the tiniest touch of bourbon in the vanilla bean glaze. The crumb is light, the hue is nothing short of gorgeous, and, at long last, everything about it is just right.

IMG_8931

IMG_8935

Last Year: Garlic Naan and Indian Turkey Burgers with Green Chutney

Tiny Almond Lemon Cakes with Bourbon Vanilla Bean Glaze

Adapted from 101 Cookbooks

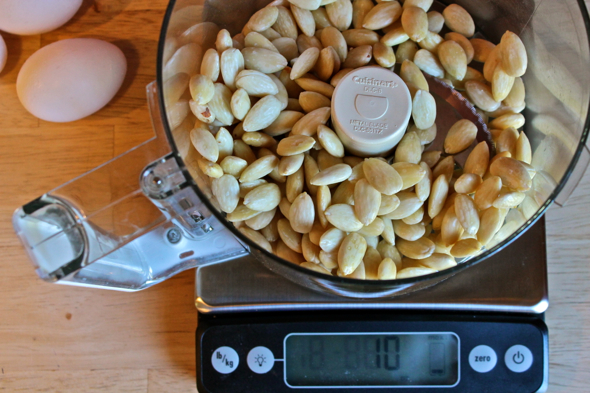
10 ounces raw blanched almonds

4 ounces (about ¾ cup) confectioners’ sugar

3 large eggs, at room temperature

2 large egg yolks, at room temperature

finely grated zest of 1 lemon

½ teaspoon sea salt

scant ¼ cup cornstarch

6 tablespoons unsalted butter, melted then cooled

Bourbon Vanilla Bean Glaze

1 cup confectioners’ sugar

2 tablespoons milk

seeds scraped from ½ a vanilla bean

1/4 to 1/2 teaspoon bourbon (to taste)

optional: toasted almond slices

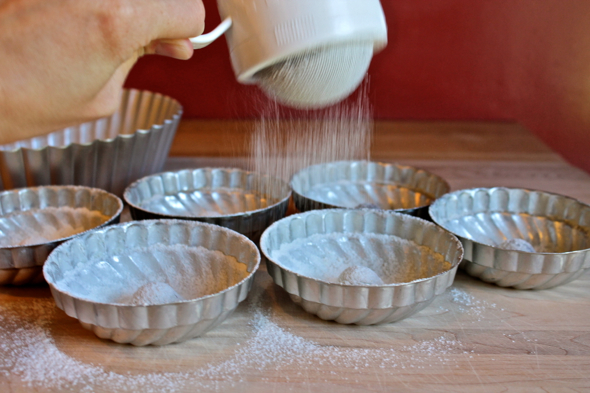
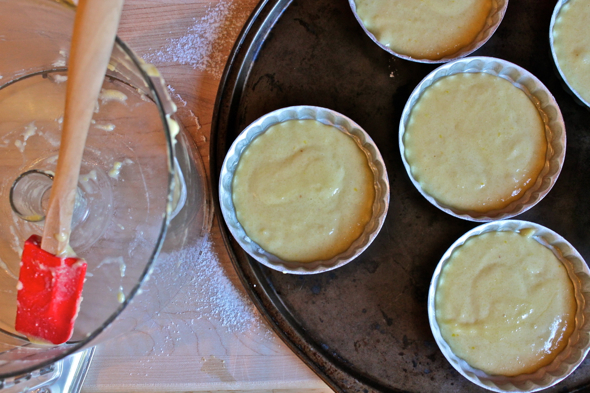
Preheat oven to 350 degrees Fahrenheit. Thoroughly butter and flour an 8-inch pan, or several smaller pans.

In the bowl of a food processor, pulverize blanched almonds until pebbly. Add the confectioners’ sugar, and continue to process until mixture is very fine and just beginning to barely clump together. Process too much, and you’ve got almond butter (delicious, but not what you want here). Add the eggs and egg yolks, and process until smooth. Add the cornstarch, salt, and lemon zest, pulse a few times, then pour in the butter. Blend one more time, before transferring to the prepared pan (or pans).

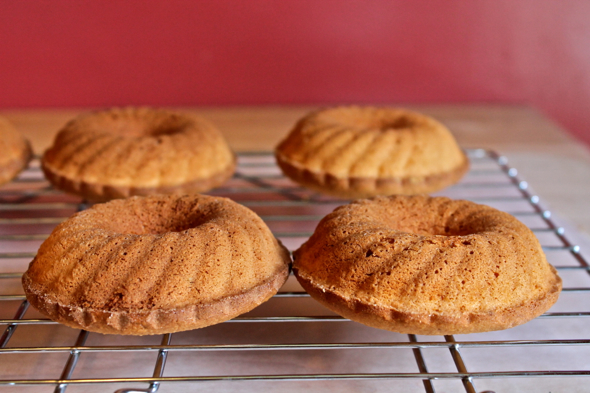
Bake in the center of the oven until deeply golden and set in the center, when a toothpick inserted in the center of the cake comes out clean. This will take what seems like an impossible amount of time. An 8-inch cake can take up to an hour, and the tiny little cakes seen above took almost 45 minutes. The color of the cakes will be deeply golden, and will appear just on the verge of being too dark.

Let the cake or cakes cool in their pan(s) for a bit (5 minutes for tiny cakes, 20 minutes for a larger cake), then turn out onto a wire rack to finish cooling completely.

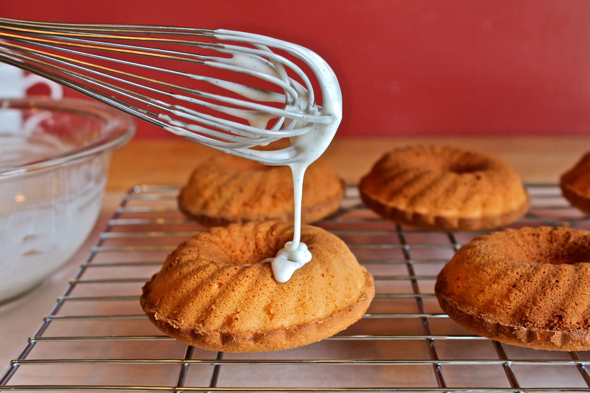
To make glaze, combine all ingredients together in a small bowl, then whisk until smooth. When cakes have cooled completely, drizzle with glaze. If desired, sprinkle with toasted almond slices.

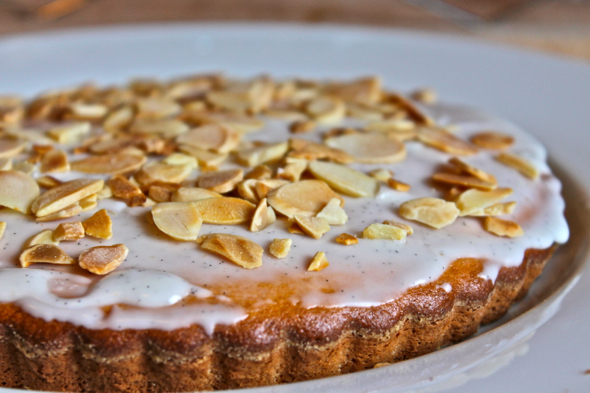
Makes about 3 cups of batter total, enough for one 8-inch cake, or six tiny cakes plus one super flat, tart-like 8-inch cake.

Roasted Sweet Potato Salsa

16 May

IMG_8854

Foods can oftentimes lead double lives. A cake can masquerade as a bread (there are many instances of this), a breakfast can go undercover as a dessert, or vice versa, and a salsa can brand itself as such, when, in actuality, what it really happens to be is a salad. A hearty, healthy, super satisfying salad.

IMG_8830

IMG_8832

The ever-changing identity of this salsa is, I think, one of its best attributes. Introduced to me by my sister-in-law, one of the first things I remember thinking about this salsa was, “I want to smear this on some bread and pile arugula on top of it.” I often think things like this, which is what, I assume separates me from people who just eat food that tastes good and then leave it at that. Sometimes I see food and immediately want to turn it into different food, but not because I think the original incarnation of that food is in any way bad. On the contrary, I am driven to play around with said food because it is so delicious, so multifaceted, that I think it should be given the chance to shine in every way possible.

IMG_8849

A salsa like this, hearty with savory roasted sweet potatoes and onions, can be moved in several directions. With chunks of fresh avocado and tomato, it certainly works as an appetizer to be scooped up by tortilla chip, but, piled on top of a bed of greens, it would also make a great salad. You can fold in some black beans and take it to a potluck as a summer salad to share. You can, as I mentioned before, slather it on lightly toasted bread and top it with some arugula and a squeeze of lemon or lime juice. Of course, you can also eat it as is, with no tortilla chips, which is what I initially did after mixing it together, taking a taste, then discovering that I was finding it difficult to stop tasting. Because even though this salsa makes a great starting point for many different dishes, it also happens to be pretty darn fantastic on its own.

IMG_8853

Last Year: Mexican Chocolate Zucchini Muffins and Spicy Ginger Garlic Potatoes and My Favorite Raita

Roasted Sweet Potato Salsa

Adapted from an Everyday Food recipe shared by my sister-in-law

1 large sweet potato (about 1 pound), peeled and diced into small chunks

1 medium red onion, diced into small chunks

1 tablespoon extra-virgin olive oil

1 medium tomato, diced into small chunks

1 medium avocado, diced into small chunks

1 small jalapeno pepper, finely diced, ribs and seeds removed it you want to tone down the spice. Alternately, you can just add 1/8-¼ teaspoon red pepper flakes if you don’t have a jalapeno pepper

2 tablespoons chopped fresh cilantro leaves

¼ cup fresh lime juice (from about 2 limes)

sea salt

Preheat oven to 450 degrees Fahrenheit. On a large baking sheet, toss together the sweet potato chunks, diced red onion, and olive oil. Roast in the center of the oven until the sweet potato is tender and browned in spots, about 20 minutes. Transfer to a large bowl and allow to cool completely.

When sweet potato mixture has cooled, add tomato, avocado, jalapeno or red pepper flakes, cilantro, and lime juice. Season with salt and toss to combine.

Makes about 4 cups of salsa.

%d bloggers like this: