Archive | Budget RSS feed for this section

Homemade Fudge Pops

25 Apr

IMG_8861

IMG_8837

IMG_8838

IMG_8841

IMG_8845

IMG_8846

IMG_8847

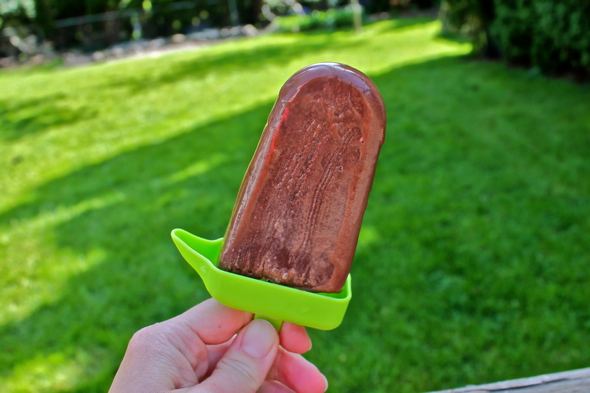
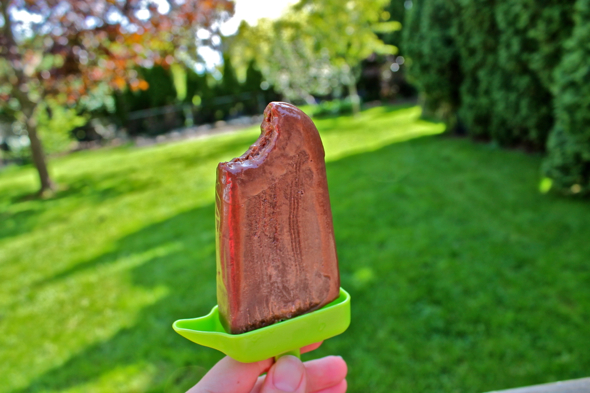
A fudge popsicle (or fudgesicle) is a closer relative to ice cream than proper fudge, and lord knows there is pretty much no situation during which I would turn down an offer to eat some ice cream. These fudge pops offer a nice in between, for those of you who are fans of both ice cream and simpler popsicles. While not as rich as chocolate ice cream, there is certainly more going on here than what one finds in a standard popsicle. Creamy and rich, yet also light and refreshing, I think I have found my new favorite warm weather treat.

IMG_8864

Last Year: Two of my favorites, Lemon, Almond, and Cornmeal Cake and How to Make Homemade Crunchy Herb and Chèvre Croutons

Homemade Fudge Pops (Fudgesicles)

Adapted from On a Stick, by Matt Armendariz

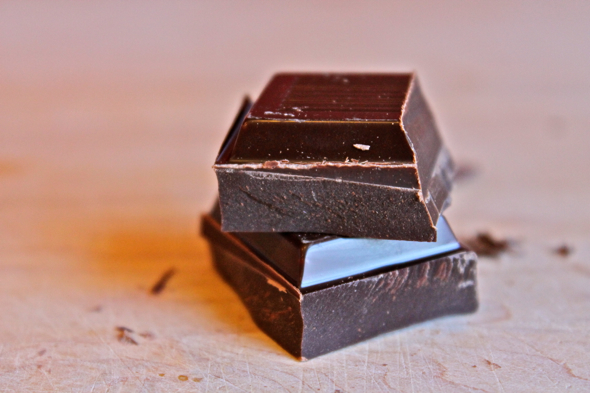
Using the best semi-sweet dark chocolate you can find definitely makes a difference (I used 54% Belgian chocolate with a nice smoky aftertaste).

2 tablespoons (3/4 ounce) chopped semi-sweet dark chocolate

1/3 cup granulated sugar

1 tablespoon cornstarch

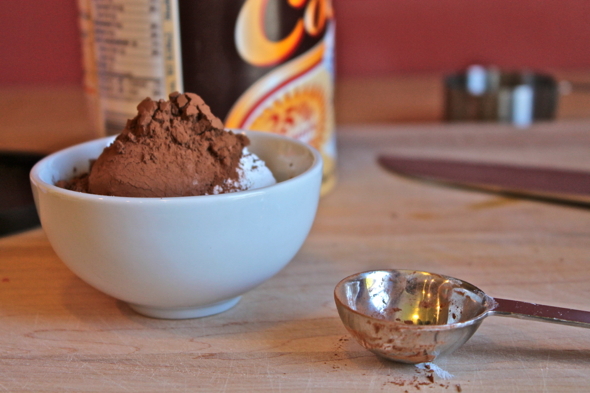
1 1/2 tablespoons unsweetened Dutch processed cocoa powder

1 1/4 cups milk
(I used 1%, and I suspect that a heavier fat milk, or even a mix of milk and heavy cream, would be great here as well)

pinch of salt

1/2 teaspoon pure vanilla extract

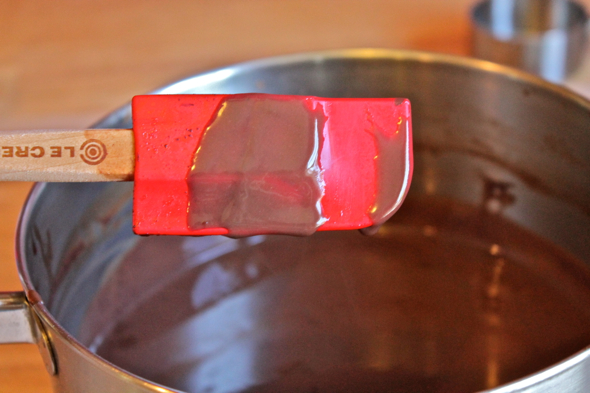
In a medium saucepan set over very low heat, gently melt the chopped chocolate, stirring constantly until smooth. Stir in sugar, cornstarch, cocoa powder, milk and salt. Increase heat to medium and cook, stirring frequently, until the mixture thickens and coats the back of a spoon or spatula (my mixture took about 5 minutes to thicken up nicely).

Remove from heat, add vanilla, and stir gently until combined.

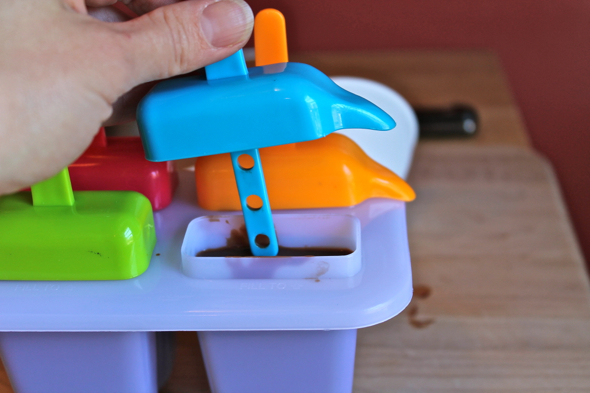
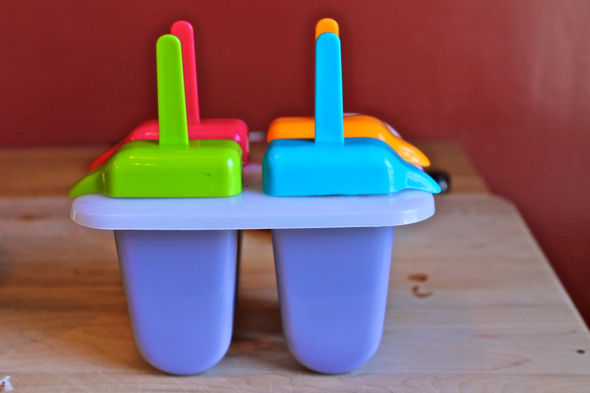
Set aside to cool slightly (the mixture will thicken even more as it cools) then pour into popsicle molds of your choosing. Freeze for at least 8 hours, but preferably overnight in order to obtain the best texture.

Note: After a bit of trial and error, I have found that the best way to release these things from their molds is to run the popsicle molds under a bit of warm water, then gently wiggle the fudge pops free. Trying to pull them out without first warming the molds will result in you most likely just yanking the handles free from the fudge pops themselves, which is just sad.

Easter Foods and a Vegetable Frittata

21 Mar

IMG_8665

Whether you are making cascarones or creating your very own Easter egg tree (no, seriously, click on that link and behold the glory of a tree decorated with 10,000 individually decorated Easter eggs, and then sit back and dream about the type of omelet that family could make with the insides of those 10,000 eggs that they blew out one at a time), you’re likely to find yourself with a few eggs, sans shells, sitting around this time of the year. Because one can only eat so many scrambled or fried eggs, the next few days are going to be dedicated to using up eggs, in all forms, in the most delicious ways possible.

IMG_8663

IMG_8661

We’ll start here, with the simplest of egg dishes. A frittata is like a delicious compost pile for all of your refrigerator leftovers. Throw in a bit of this, a bunch of that, stick it in the oven, and moments later you’ve got yourself one delightful meal. The frittata I feature here is comprised of half of a leftover baked potato, the last ribs of a sliced onion, and some day-old garlicky sautéed kale, all topped off with a nice lid of shredded Parmesan cheese. Suitable for any time of the day, it’s a two-part winner for your leftovers and your tummy. Everyone wins.

IMG_8666

Last Year: Chocolate Swirled Bread–another great entry in the cake-as-bread category

Vegetable Frittata

1 tablespoon unsalted butter

¼ cup thinly sliced onion

½ cup diced, cooked potato

1 cup leftover cooked greens (chard, spinach, kale, what have you)

4 large eggs

salt and pepper to taste

dash of good hot sauce (Tapatio, Tamazula, and Cholula are all good candidates)

¼ cup shredded Parmesan cheese

Preheat your oven’s broiler. Arrange an oven shelf in the highest position.

In an ovenproof skillet, melt butter over medium-low heat. Add onions, and sauté until soft, about 5 minutes. Add potatoes, stir to combine and heat through, then add cooked greens. Stir to combine, then reduce heat to low.

In a small bowl, combine eggs, salt and pepper, and a dash of hot sauce. Whisk with a fork until eggs are combined. Add Parmesan cheese, and stir to combine.

Pour eggs over vegetables in skillet. Using a spatula or wooden spoon, coax any egg run-off back towards the vegetables. Allow to cook for 1 to 2 minutes, until the bottom of the eggs seem somewhat set, and the edges of the eggs appear be just beginning to dry. Place skillet on top shelf of oven, directly beneath the broiler. Broil frittata for 2 to 4 minutes, until the middle is set, the top is puffed, and the color is just tinted golden.

Remove from oven, loosen frittata with spatula, and serve hot or at room temperature.

Serves 3 to 4 people.

Homemade Energy Bars

24 Jan

IMG_8328

IMG_8309

IMG_8312

IMG_8315

IMG_8317

IMG_8319

I, the person who has never actually seen an energy bar, have made you some energy bars. Actually, what I have made is not so much an energy bar, as it is what I think an energy bar should be. It is packed with protein, filled with fruit, and it contains no gluten or grains (not because I don’t eat gluten or grains, but because I thought people might like having the option of an energy bar without those things in it). It is just about as friendly and harmless a snack as anyone could ever wish for, only these suckers are also super delicious. Like, almost dangerously so. I’ve taken to eating one just about every other waking hour, which means that I am going to have to start preparing for some hiking or power-biking pretty soon, lest I waste the virtues of these energy bars on my current low energy activities of sitting, typing, and reading.

IMG_8332

Last Year: Yard Long Beans with Chile Oil and Garlic Bits and Ponzu-Marinated Flank Steak

Homemade Energy Bars

These little bars are basically little more than a collection of fruits and nuts all ground together and then baked a bit to keep their shape. The recipe below was based on whatever seeds, nuts and dried fruits I had sitting around in the house, but I’d encourage you to use whatever combination of flavors you think would be good. I think dried, unsweetened coconut would be great in here, as would dried apricots, dried apples, or dried, unsweetened cherries.

¼ cup unfiltered apple cider

½ cup whole Medjool dates, cut into quarters, seeds removed

½ cup dried mangoes

½ cup dried pears

1 cup whole raw almonds

¼ cup raw pepitas (pumpkin seeds)

¼ cup raw sunflower seeds

¼ teaspoon sea salt

Preheat oven to 300 degrees Fahrenheit. Line a baking sheet with parchment paper, then set aside.

In a medium bowl, combine apple cider, dates, dried mangoes, and dried pears. Toss to combine, then allow to sit and soak for a bit while you gather the remaining ingredients.

In the bowl of a food processor, combine soaked dried fruits (along with any apple cider remaining in the bowl) and almonds. Pulse 5 or 6 times to coarsely chop everything. Add the pepitas, sunflower seeds, and salt, then pulse half a dozen more times until the mixture sticks together and begins to clump up. There should still be big chunks of seeds and nuts visible.

Turn mixture out on to a large sheet of wax paper. Wet your hands with water (to prevent the mixture from sticking to your hands too much), then shape the mixture into a 12” by 6” rectangle. Cut the rectangle into 8 bars that are roughly 6” by 1.5” a piece. Using a flexible spatula, transfer bars to parchment-lined baking sheet. Bake in center of oven for 10 minutes, then carefully turn each bar over and continue to bake for an additional 8 to 10 minutes. The bars should be slightly golden, but the nuts should not be singed or burned.

Remove from oven, and allow bars to cool on baking sheet. Store in an airtight container for 3 days at room temperature, or in the refrigerator for up to a week. Or just eat for breakfast, lunch, and dinner, and never find it necessary to store them anywhere for any prolonged period of time.