
I, the person who has never actually seen an energy bar, have made you some energy bars. Actually, what I have made is not so much an energy bar, as it is what I think an energy bar should be. It is packed with protein, filled with fruit, and it contains no gluten or grains (not because I don’t eat gluten or grains, but because I thought people might like having the option of an energy bar without those things in it). It is just about as friendly and harmless a snack as anyone could ever wish for, only these suckers are also super delicious. Like, almost dangerously so. I’ve taken to eating one just about every other waking hour, which means that I am going to have to start preparing for some hiking or power-biking pretty soon, lest I waste the virtues of these energy bars on my current low energy activities of sitting, typing, and reading.
Last Year: Yard Long Beans with Chile Oil and Garlic Bits and Ponzu-Marinated Flank Steak
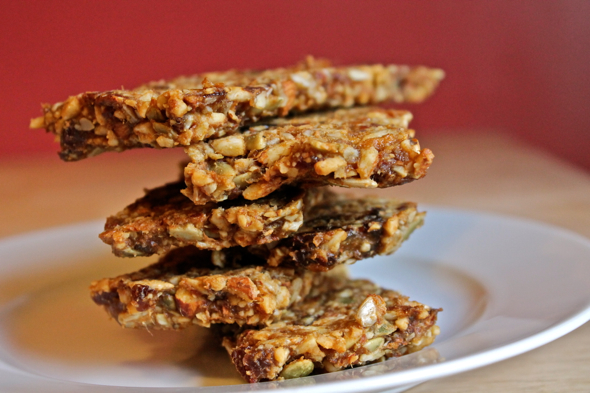
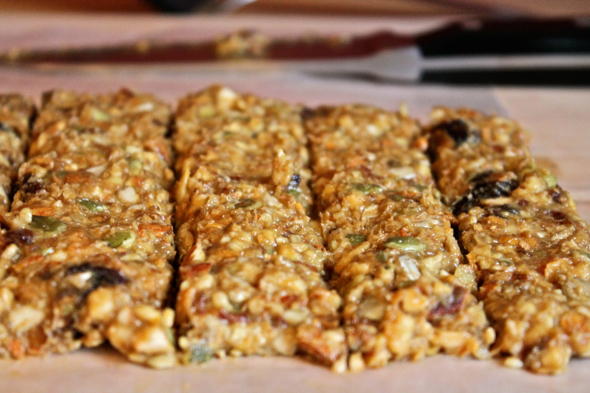
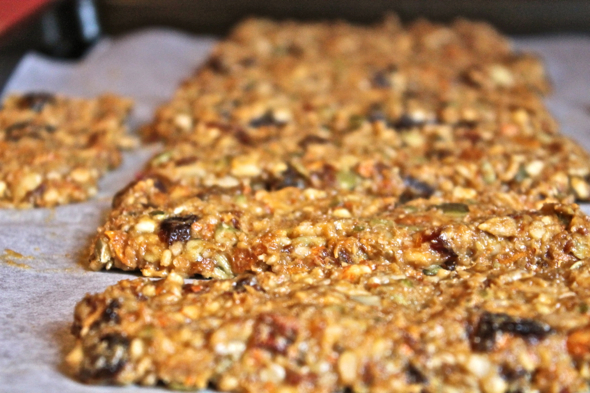
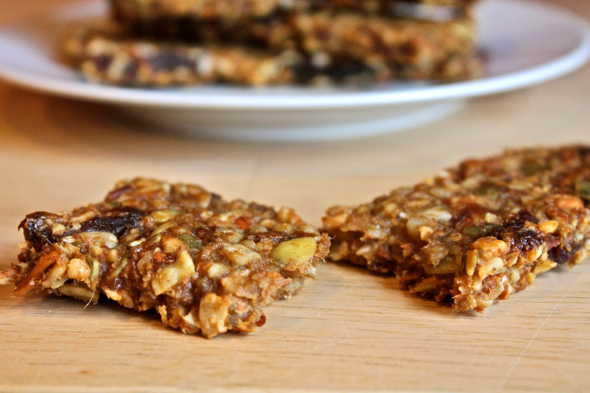
Homemade Energy Bars
These little bars are basically little more than a collection of fruits and nuts all ground together and then baked a bit to keep their shape. The recipe below was based on whatever seeds, nuts and dried fruits I had sitting around in the house, but I’d encourage you to use whatever combination of flavors you think would be good. I think dried, unsweetened coconut would be great in here, as would dried apricots, dried apples, or dried, unsweetened cherries.
¼ cup unfiltered apple cider
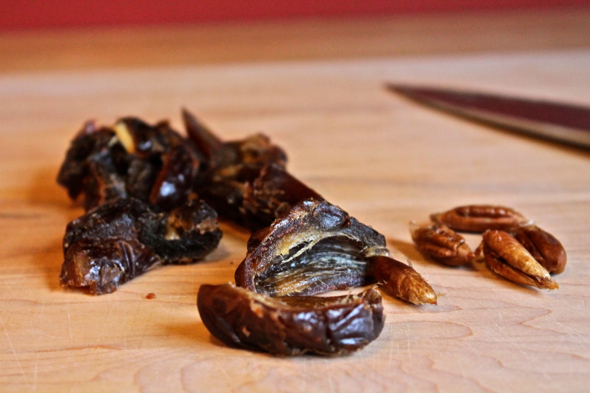
½ cup whole Medjool dates, cut into quarters, seeds removed
½ cup dried mangoes
½ cup dried pears
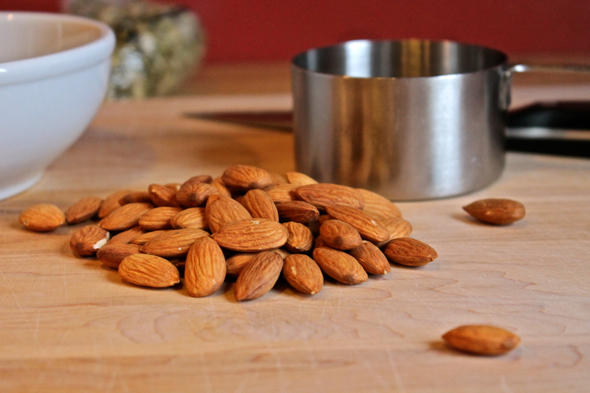
1 cup whole raw almonds
¼ cup raw pepitas (pumpkin seeds)
¼ cup raw sunflower seeds
¼ teaspoon sea salt
Preheat oven to 300 degrees Fahrenheit. Line a baking sheet with parchment paper, then set aside.
In a medium bowl, combine apple cider, dates, dried mangoes, and dried pears. Toss to combine, then allow to sit and soak for a bit while you gather the remaining ingredients.
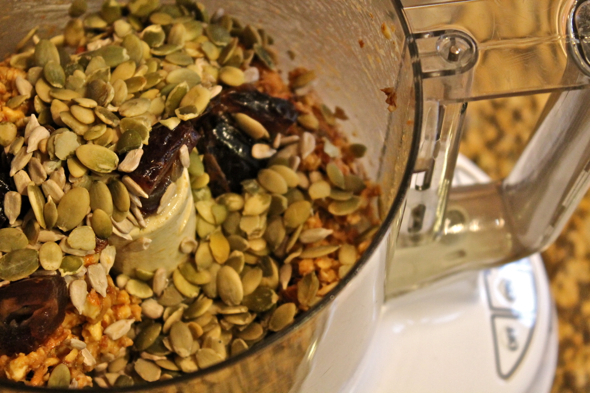
In the bowl of a food processor, combine soaked dried fruits (along with any apple cider remaining in the bowl) and almonds. Pulse 5 or 6 times to coarsely chop everything. Add the pepitas, sunflower seeds, and salt, then pulse half a dozen more times until the mixture sticks together and begins to clump up. There should still be big chunks of seeds and nuts visible.
Turn mixture out on to a large sheet of wax paper. Wet your hands with water (to prevent the mixture from sticking to your hands too much), then shape the mixture into a 12” by 6” rectangle. Cut the rectangle into 8 bars that are roughly 6” by 1.5” a piece. Using a flexible spatula, transfer bars to parchment-lined baking sheet. Bake in center of oven for 10 minutes, then carefully turn each bar over and continue to bake for an additional 8 to 10 minutes. The bars should be slightly golden, but the nuts should not be singed or burned.
Remove from oven, and allow bars to cool on baking sheet. Store in an airtight container for 3 days at room temperature, or in the refrigerator for up to a week. Or just eat for breakfast, lunch, and dinner, and never find it necessary to store them anywhere for any prolonged period of time.


